Getting started
From a video file to a playable instrument, in about five minutes.
Drop a video in, and a waveform appears with cut marks already laid across it. Press a key and a half-second of that video plays — audio and picture together, in time, under your fingers. That’s the shortest path through the app, and this page walks it.
First launch
rip chopper is a Mac app: drag it to Applications and open it. The first launch sets up the analysis tools it uses for beat detection and stem separation. On Apple Silicon, stem separation runs on the GPU.
Make a project
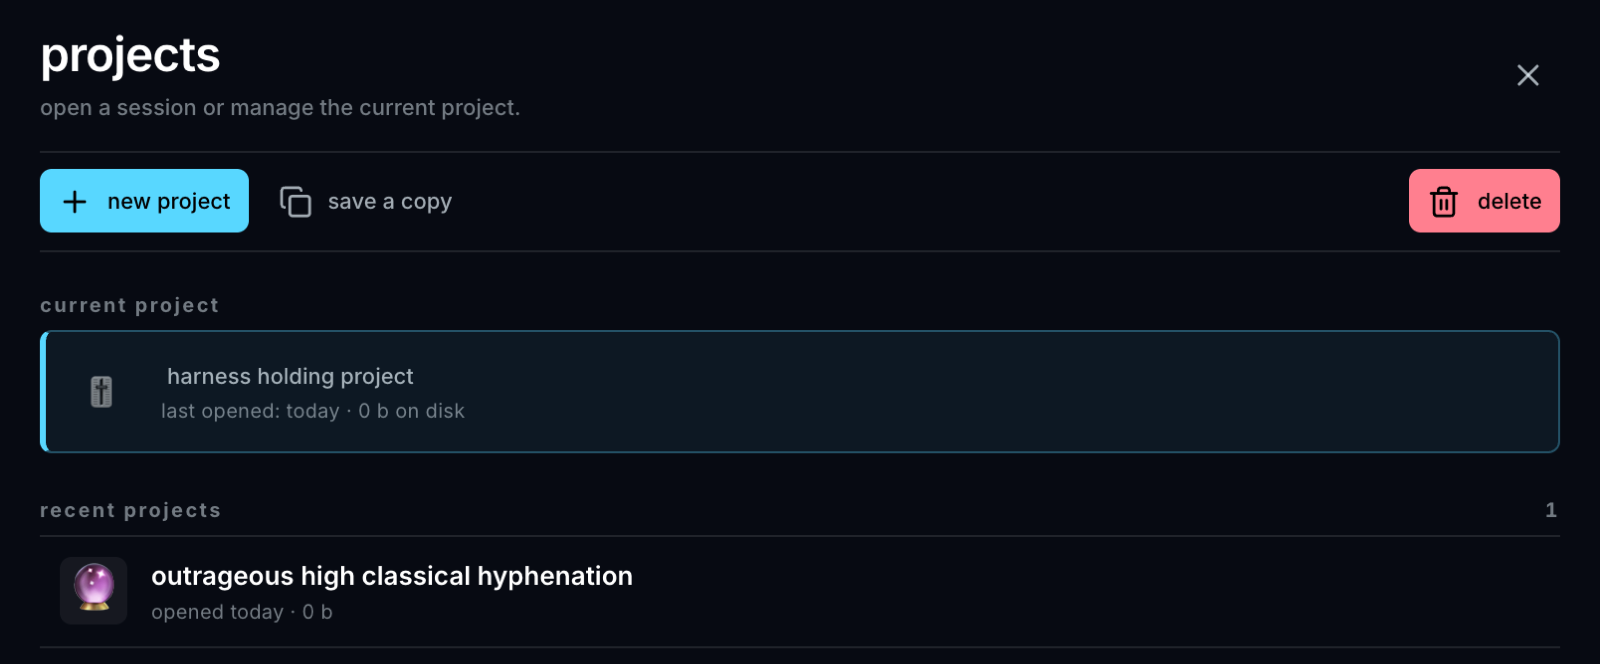
A project is a workspace: the videos you’ve pulled in, the clips you’ve cut, the pads you’ve laid them on, your tempo, your canvas. One project per idea, per song, per experiment. They’re cheap — make a lot of them.
Bring in a video
Drag any video file into the window. If it plays on your Mac, it chops. Audio files work too — drum loops, one-shots, full songs — and get the whole chopping workflow, just without a picture.
No file handy? Record screen in the left rail grabs whatever is playing on your Mac and lands it in the app as ordinary source material.
Your first chop
When a video comes in, the chop editor opens on it: the waveform wrapped over three rows like lines of text, with a filmstrip of frames above it.
By the time you’ve looked at it, it’s usually already chopped. The Hits tool runs automatically and drops cut marks on the strongest attacks it hears — drum smacks, word starts, door slams. Each pair of marks is a future pad.
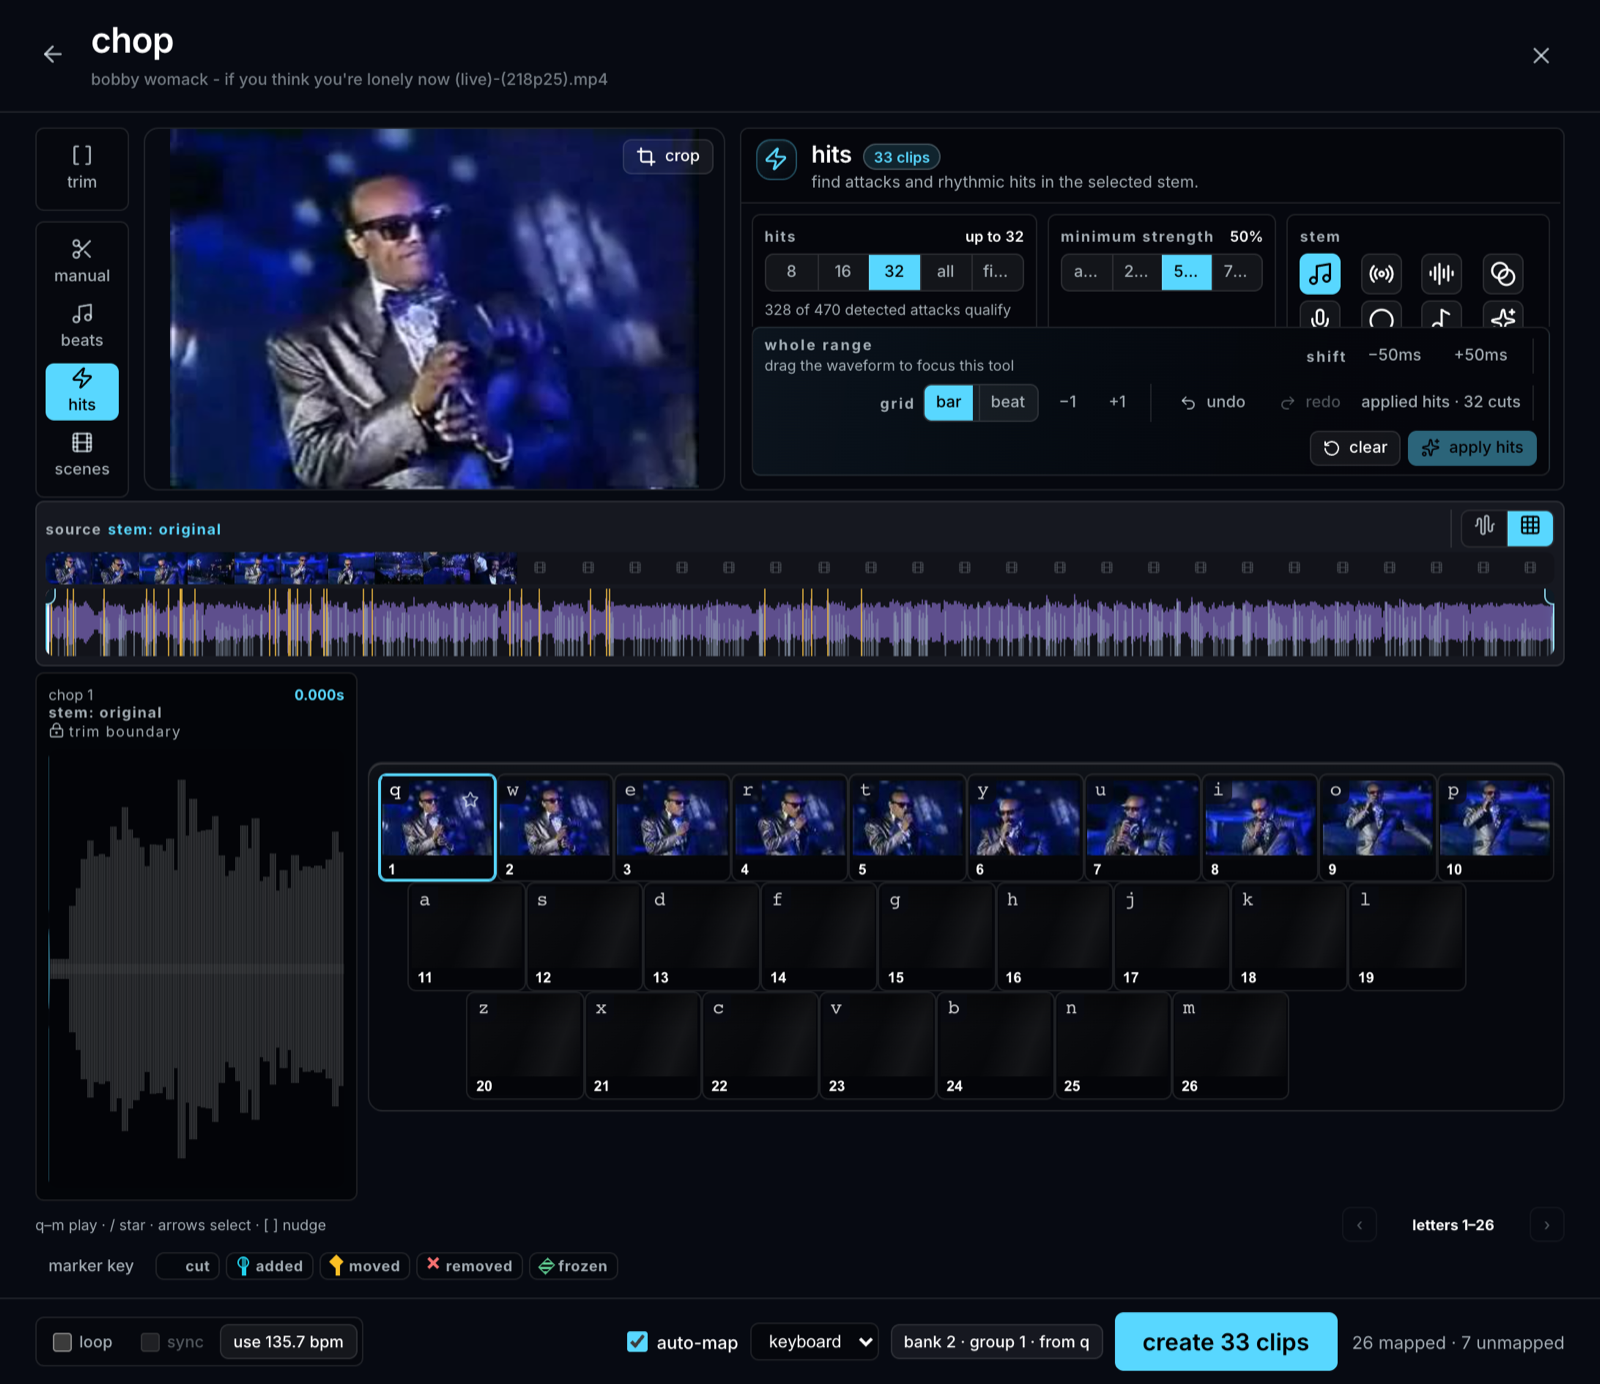
You can stop here. Press Create, and every slice lands on a pad.
If you’d rather meddle:
- Drag a marker to move a cut. Shift+click to add one, Alt+click to delete.
- Press Space to play, and Shift+click the waveform to drop a cut where you heard one. Chopping by ear is the good part.
- Enter is Apply, in every tool.
- Change the Hits count — 8, 16, 32, All — as an upper limit, and raise or lower Minimum strength to include quieter attacks or only confident ones.
Play it
Your keyboard is now a sampler. The 40 keys of the main grid each hold a slice. Press one. Press several. Every pad you hold is also on screen, composited live onto the canvas.
Three things to try in the first minute:
- Hold a chord of three pads and watch three moments of the same video share the frame.
- Tap one pad rhythmically — each press restarts the slice, audio and picture together.
- Find two pads that sound good in a row and alternate them until it’s a beat.
Keep what happened
Worth internalizing early: the app is always listening. You don’t arm a recording before you play. When something good happens, hover the live strip and click Rewind — the last minute and a half of your playing opens on a timeline, where you can select the good bar, render it to a loop, and put that on a pad.
When you do want to plan ahead, the capture rail beside the live strip records on purpose: Perform captures the live sampler performance, Sample takes a free-length take, and Loop (free) and Loop (clock) build unclocked or bar-quantized loop performances.
Play first, decide after. Most of the app is shaped around that order.
Where to next
- Core concepts — the ideas the rest of the app builds on. Ten minutes, and everything after it reads faster.
- Chopping — the four tools in depth.
- Rewind & takes — the capture side.