Settings
What's in each panel, and which settings are worth changing early.
Settings are layered: global defaults, with per-project overrides where a project needs to differ. One Global / Project switch at the top of the window governs everything in it.
Two things deliberately aren’t in here. Input device and camera live in the sidebar’s Input popover, because you change them mid-session. Tempo lives on the sidebar too.
The panels
Playback — stem separation quality (Fast / Balanced / High Quality), render frame rate, background video materialization, looper behavior, and clip-creation options including audio normalization for new chops.
Input — audio input device, input latency and its measurement, external input gain, MIDI device preferences and whether to listen on all devices and channels, webcam capture resolution and frame rate, and voice commands.
Output — audio output device, the OBS/browser-source preview output and its frame rate, and the BlackHole loopback helper for routing system audio back in.
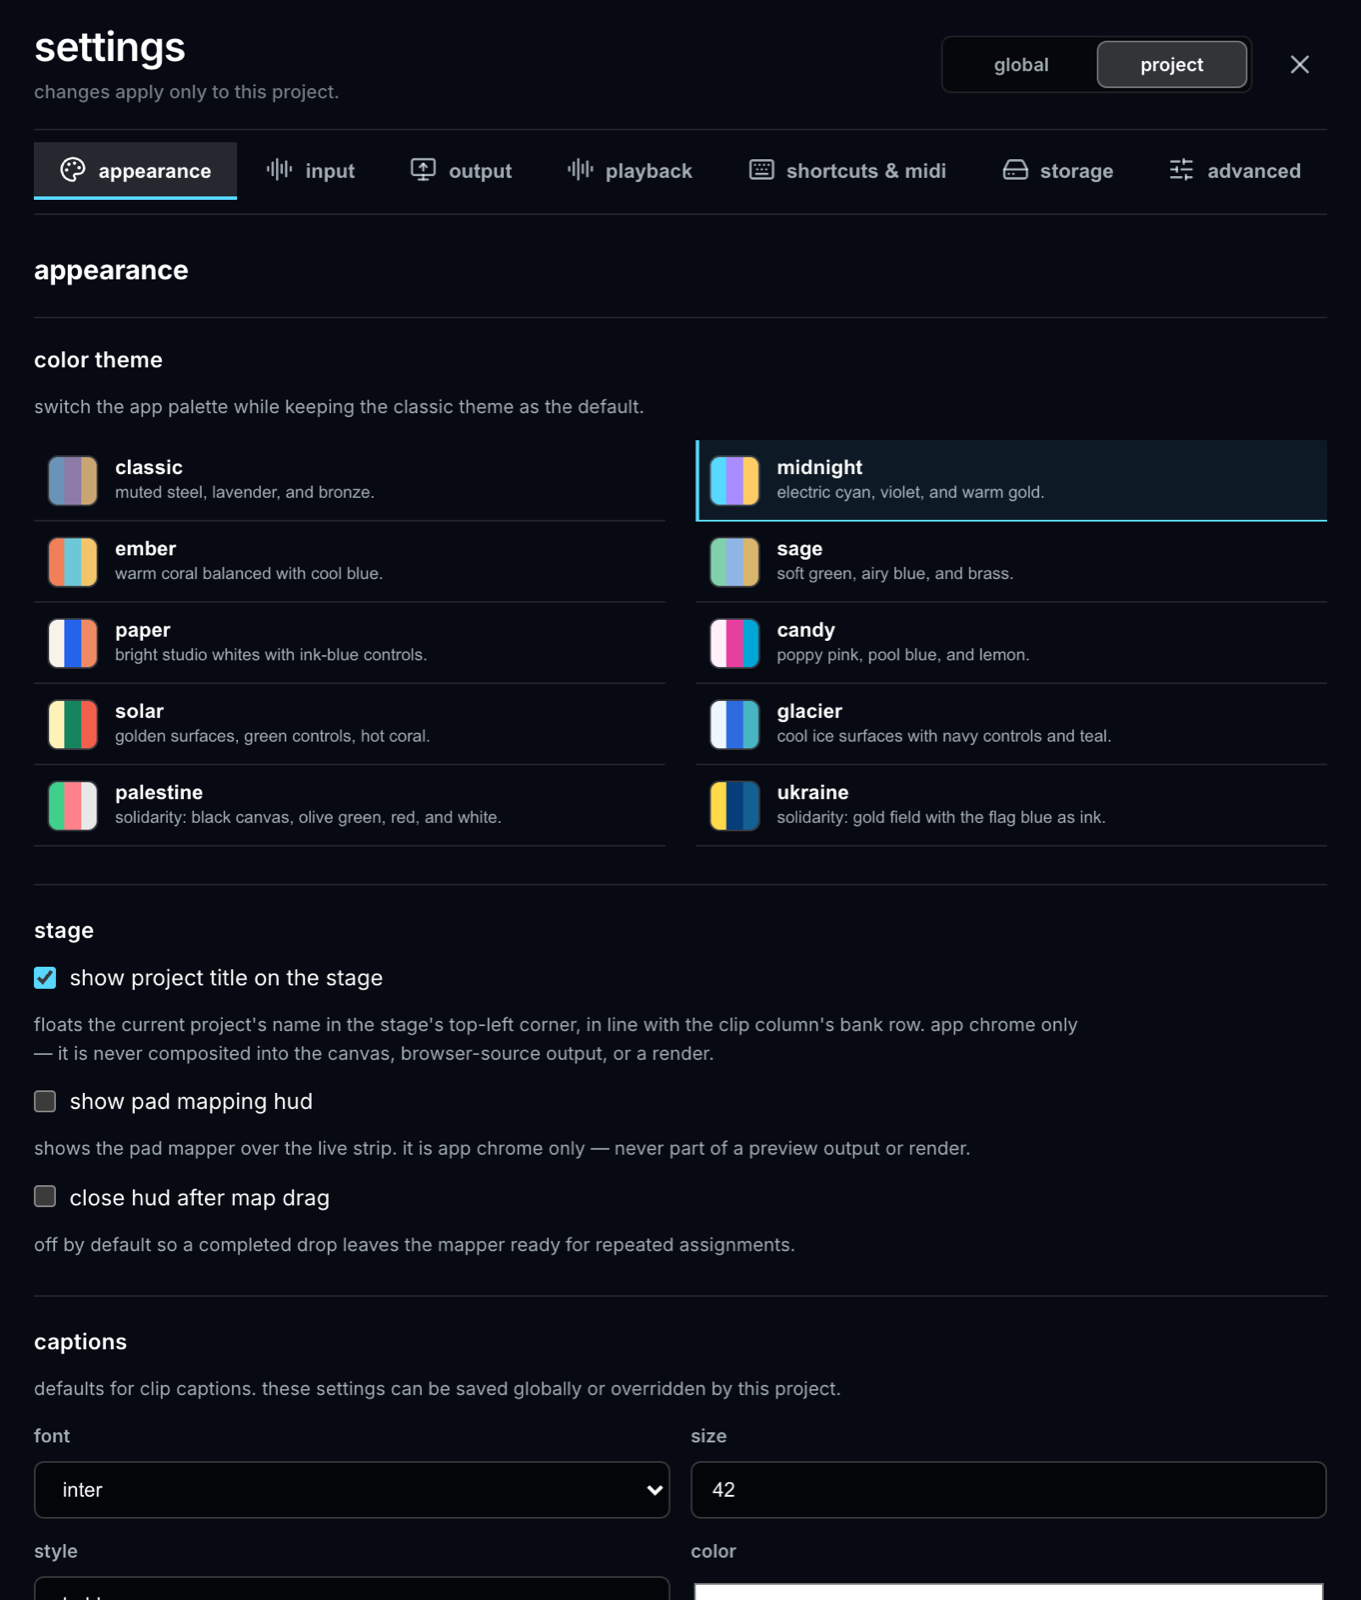
Appearance — color theme, interface font, caption font/size/style/color, and whether the project title shows on the stage.
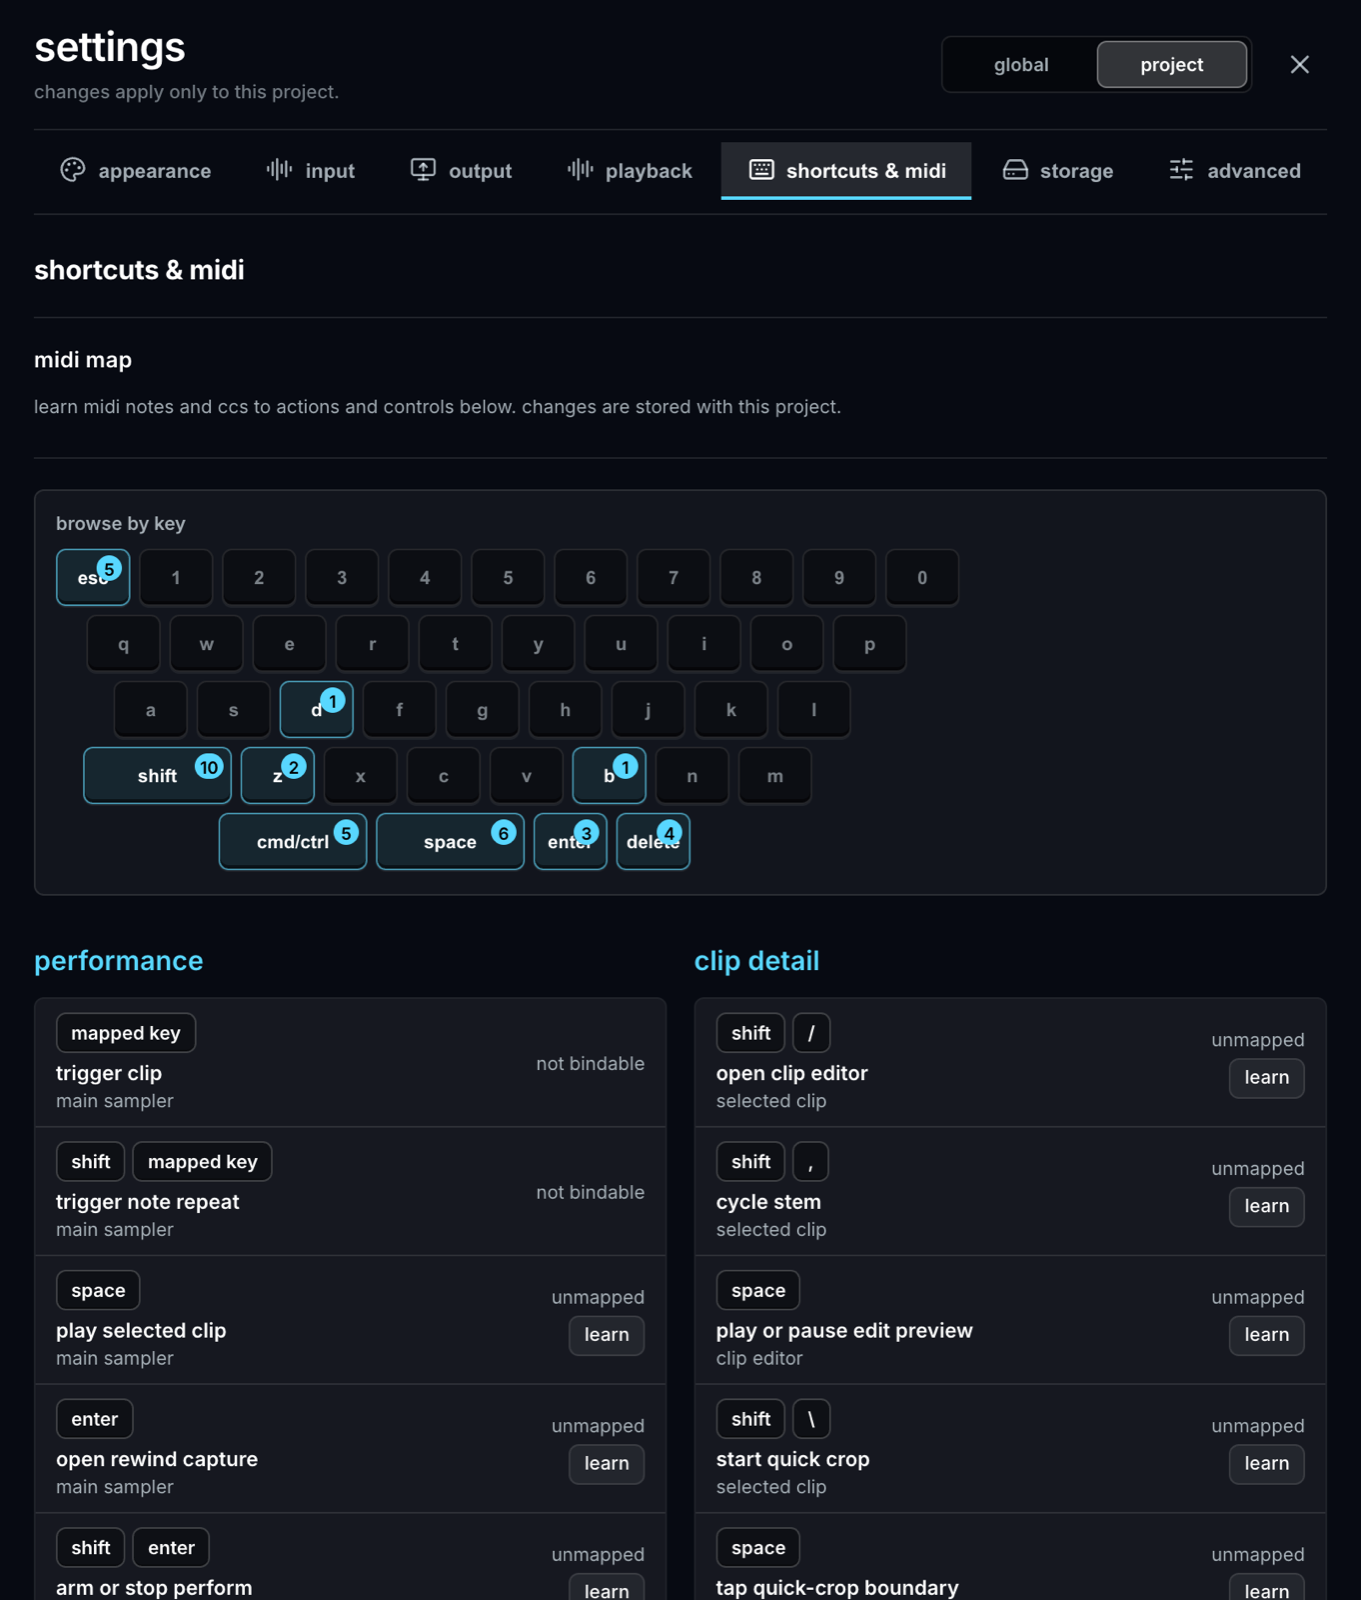
Shortcuts & MIDI — every remappable key and MIDI binding. ⌘/ opens the same list read-only.
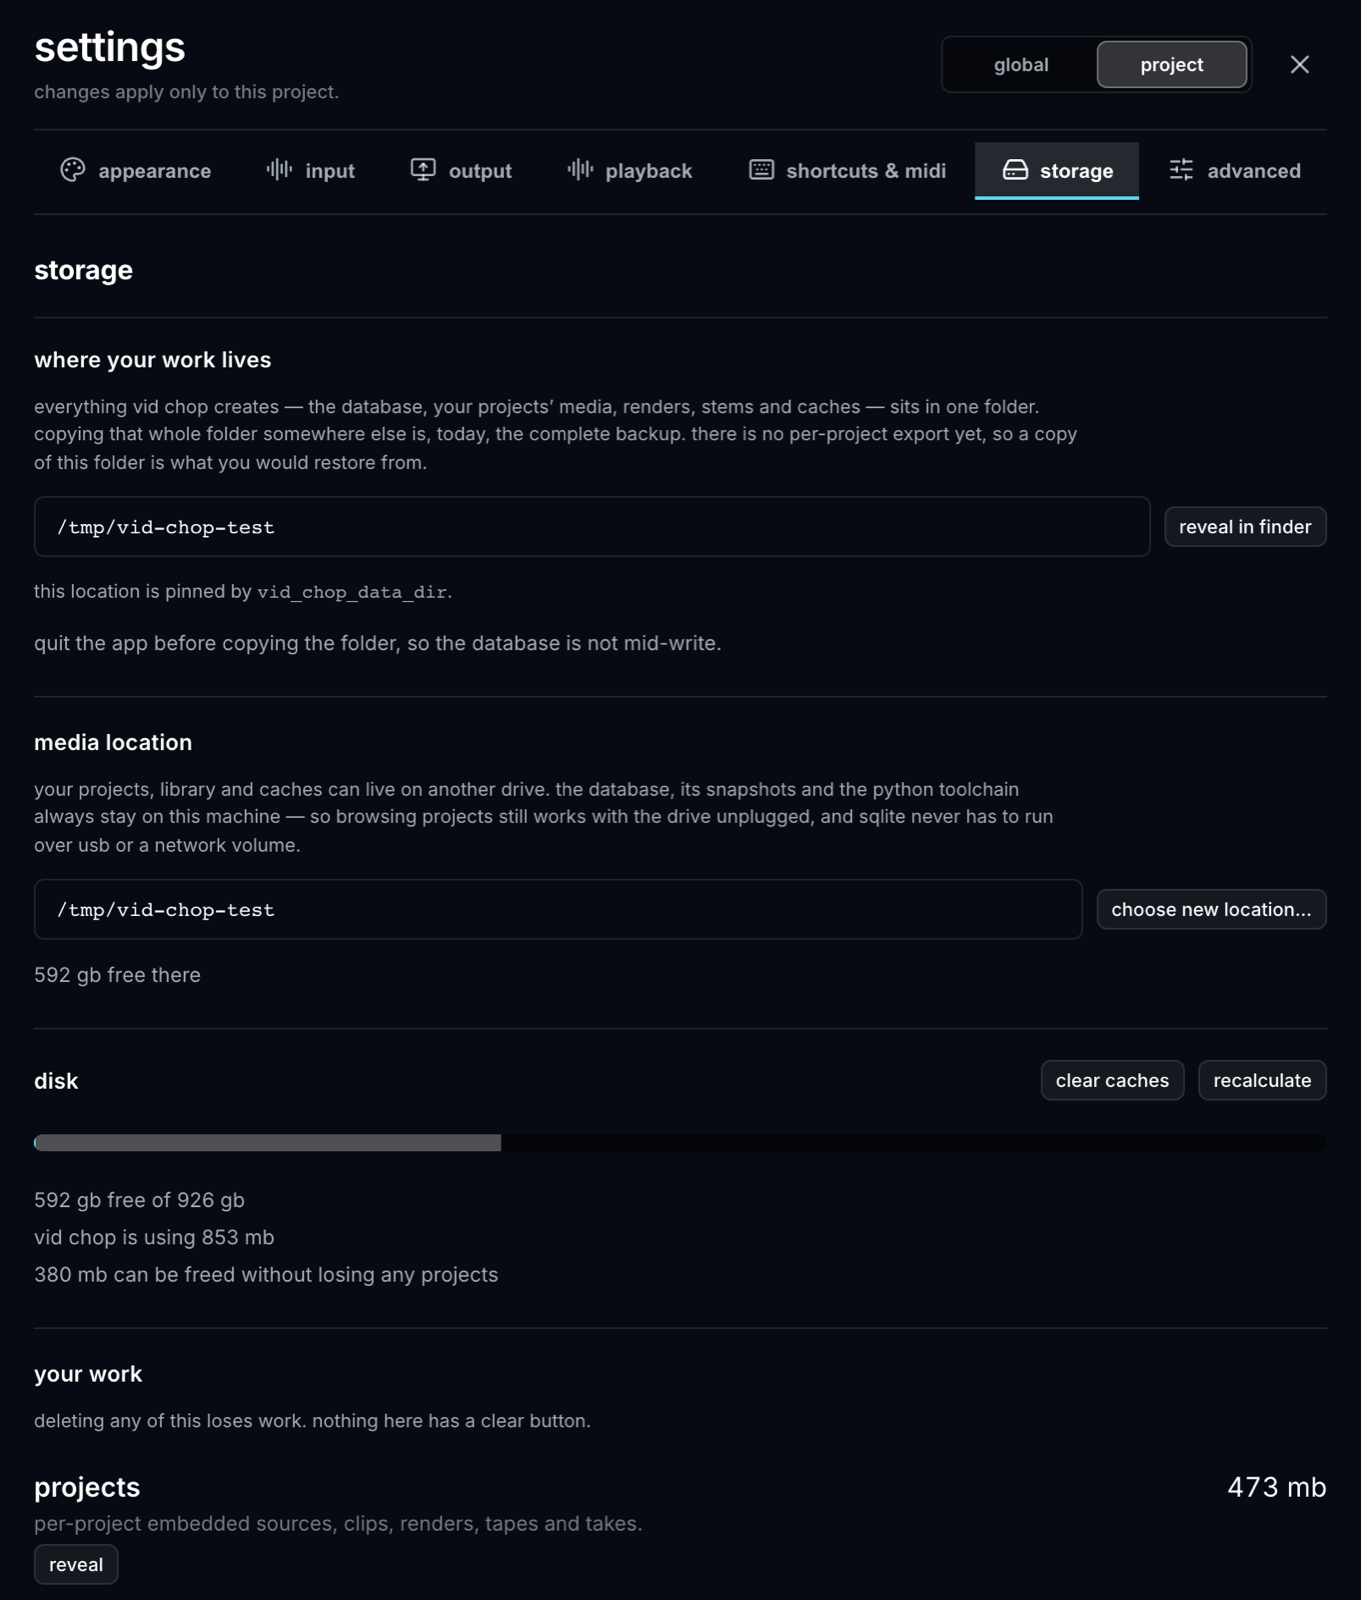
Storage — where your media lives, projects by size, moving the media root, and reclaiming space (Reclaim clip videos, Delete stems).
Advanced — Python tools setup, environment diagnostics, and audio routing logs.
Worth changing early
- Rewind length — how much rolling history is kept, 90 seconds by default. Longer remembers more; shorter is lighter on disk and memory.
- Auto-arm takes — takes without a count-in start at your first sound rather than at the button press. On by default, and worth leaving on.
- Auto-pan loop layers — each looper pass lands at a new stereo position. On by default.
- Looper layer count — adaptive by default, so every committed camera stays visible and the tiles reflow as the stack grows. Set a fixed number instead and the slots are reserved up front, with the session finishing when the last one fills.
- Rerack bank after deleting a clip — closes the keyboard gap left when a clip goes to Trash. On by default; turn it off when pad positions are choreography you don’t want rearranged.
- Close HUD after map drag — closes the pad mapper after each drop. Off by default, because placing several chops in a row is the common case.
- Show pad mapping HUD and Show project title on the stage — stage clutter, your call.
Storage location
Media lives in a project library under your user Library folder by default. Settings → Storage can move that root somewhere else — an external drive, for instance — and will tell you if a chosen location isn’t writable.
Paths are stored relative to the root, so moving it carries everything with it: projects, clips, renders, stems, and saved capture sessions.