Getting material in
Imports, screen recording, the camera, and the library that holds it all.
Everything you play starts as a file on your Mac. There are four ways to get one into a project, and one library that holds the results.
Drag a file in
Drop any video or audio file onto the window. Video files bring picture and sound; audio files (drum loops, one-shots, whole songs) get the same chopping, stem, and analysis workflow without a picture, and can borrow a visual later — see Clip visuals.
Import copies the file into the project’s own storage, so moving or deleting the original afterwards doesn’t break anything you built from it.
Record your screen
Record screen in the left rail captures whatever is playing on your Mac, system audio included. Play something in a browser, grab thirty seconds, and it lands as ordinary source material — ready to crop down to the video player and chop.
Use the camera
One global camera setting is shared by Rewind, Perform, and the looper. With it enabled, the app keeps a rolling history of your camera alongside your audio, so recovering a performance recovers your face with it. The camera also feeds the looper’s video passes and the clone-composite workflow — see The live looper.
Input device and camera both live in the sidebar’s Input popover rather than in Settings, because you change them mid-session.
Capture what you played
The fourth route isn’t an import at all: play something, capture it, and render the result to a clip. A rendered loop is source material like any other and can be chopped again. See Rewind & takes.
The material library
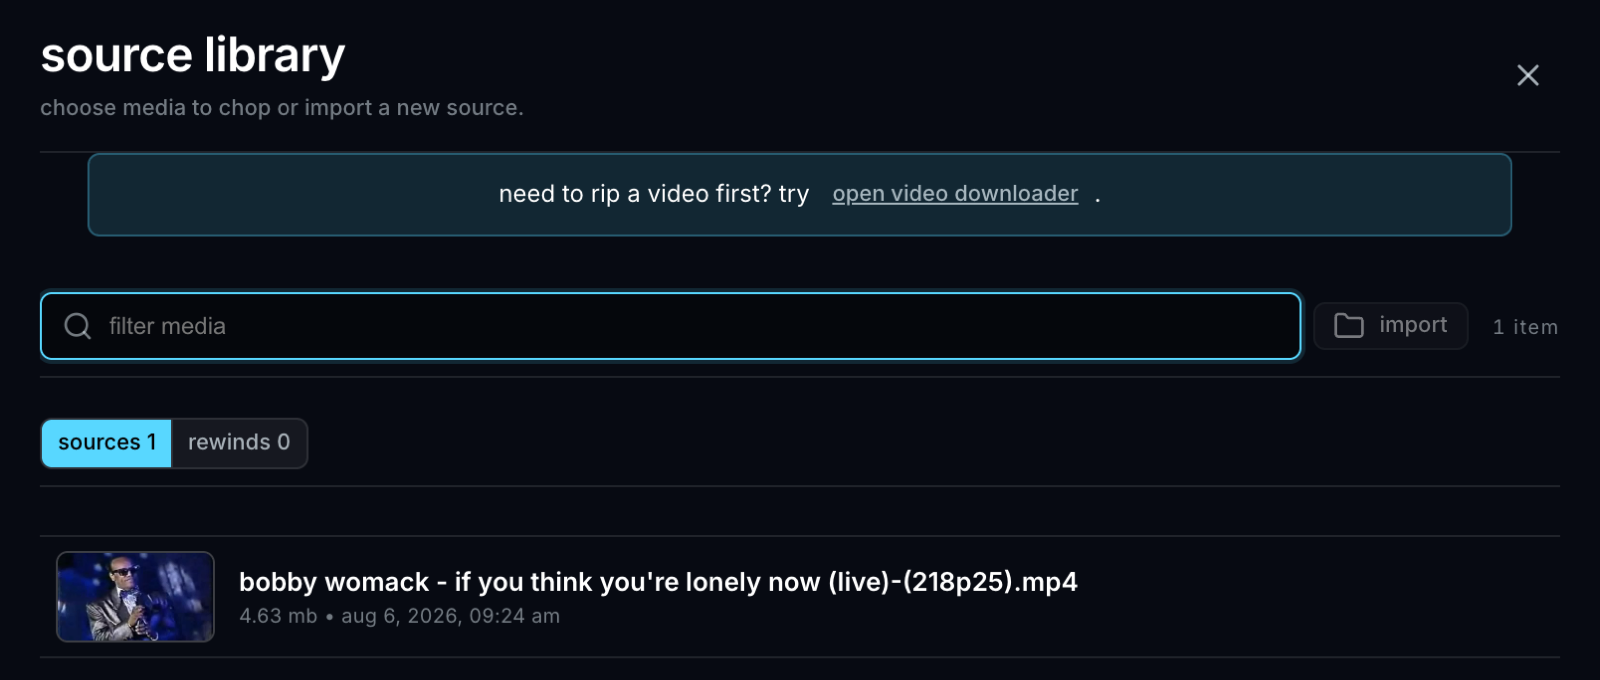
The library separates deliberate Sources from automatically retained Rewinds. It opens on Sources for a quieter everyday list; switch to Rewinds when you want to recover a take you closed or discarded. Searching either section also tells you when matching media exists in the other one.
The workspace follows the material as you work: acquisition in the narrow left rail, your chops and selected-clip controls in the next column, then the composition canvas. Chop, Sample, and Record screen all sit in that acquisition group.
Press ⌘B to collapse the material column when you want the canvas wider.
Chops in that column aren’t only for pads: dragging one onto the Song Board turns it into a Section, so a loop you already cut can be the bed a song starts from.
Reshaping material
Three edits change material rather than chopping it. None of them destroy anything — the original frames stay where they are.
Trim sets the working range of a source, or moves an existing clip’s in and out points in place. It’s the fifth mode in the chop editor, and its ‹ › steppers walk each endpoint along a grid of hits, beats, or bars.
Quick crop (Shift+\) retimes the selected clip by ear: the clip plays, you tap Space at the boundaries you want, and Enter recuts it. Faster than opening an editor when a chop is just slightly wrong.
Crop reframes the picture — drag a box over the preview in the chop
editor. This is the one to reach for after a screen recording, to cut the
browser chrome away from the video player. It crops the source, producing a
new (cropped) source and leaving the original in place, so every playback
path gets the same frame without carrying a per-clip rectangle around.
Storage
Media lives in a project library under your user Library folder by default, and every clip and render can be revealed in Finder from the app. Settings → Storage shows where that is, what each project costs on disk, and lets you move the media root somewhere else — an external drive, for instance. It also offers Reclaim clip videos and Delete stems for recovering space from material you can regenerate.